Shopify Flow Integration
Scan Picker’s inventory updater sends out Shopify Flow events that can be used to keep track of inventory changes made through Scan Picker. This allows you to automate workflows and maintain records of inventory adjustments.
-
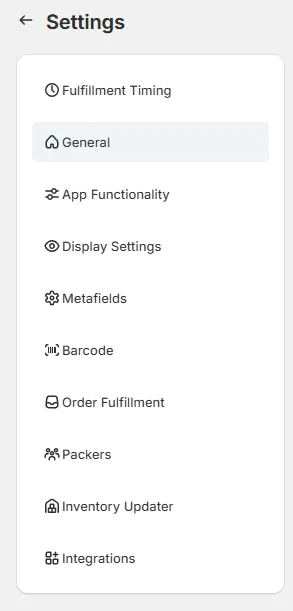
Enable Shopify Flow triggers
Go to Scan Picker settings and navigate to General > Enable Shopify Flow triggers.

-
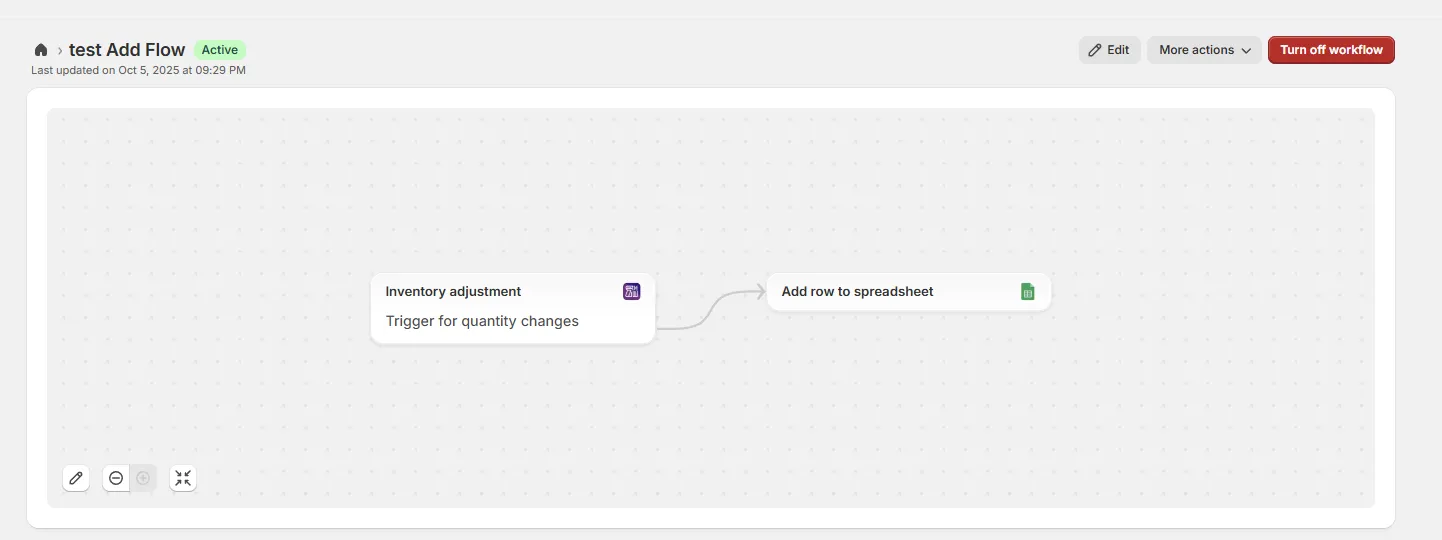
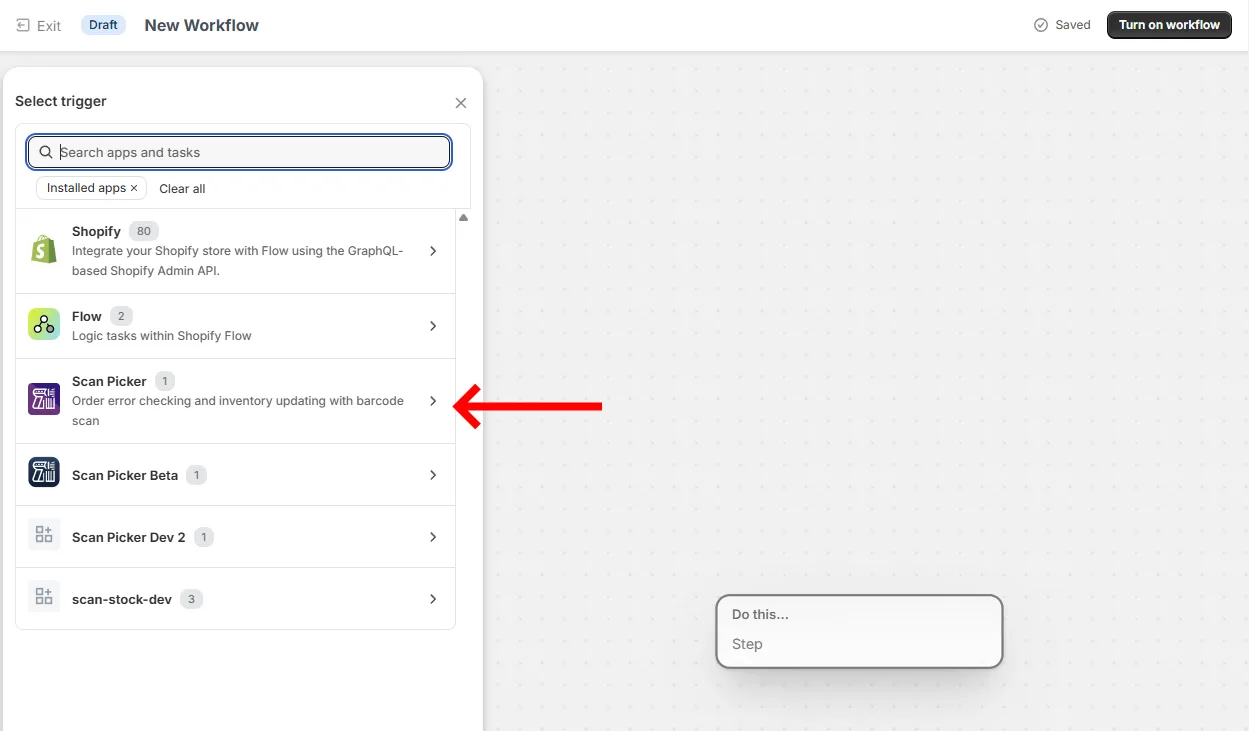
Create a new Shopify Flow workflow
In Shopify Flow, create a new workflow and select Scan Picker > Inventory Adjustment as the trigger.
-
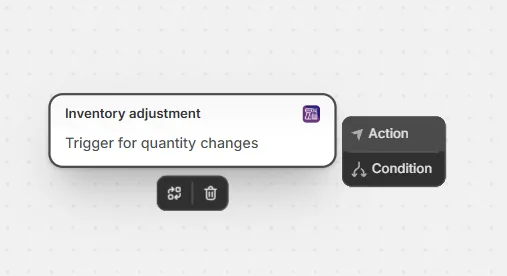
Create an action from the Scan Picker trigger
Click to add an action from the Scan Picker trigger.
-
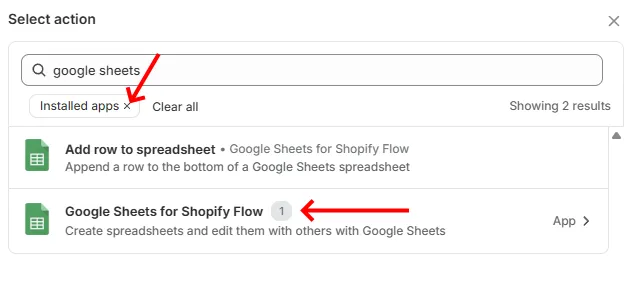
Install Google Sheets for Shopify Flow
Ensure Google Sheets for Shopify Flow is installed. In the action menu, you can deselect the “installed apps” filter and install it from there if needed.
-
Select the “Add row to spreadsheet” action
Choose the “Add row to spreadsheet” action from Google Sheets.
-
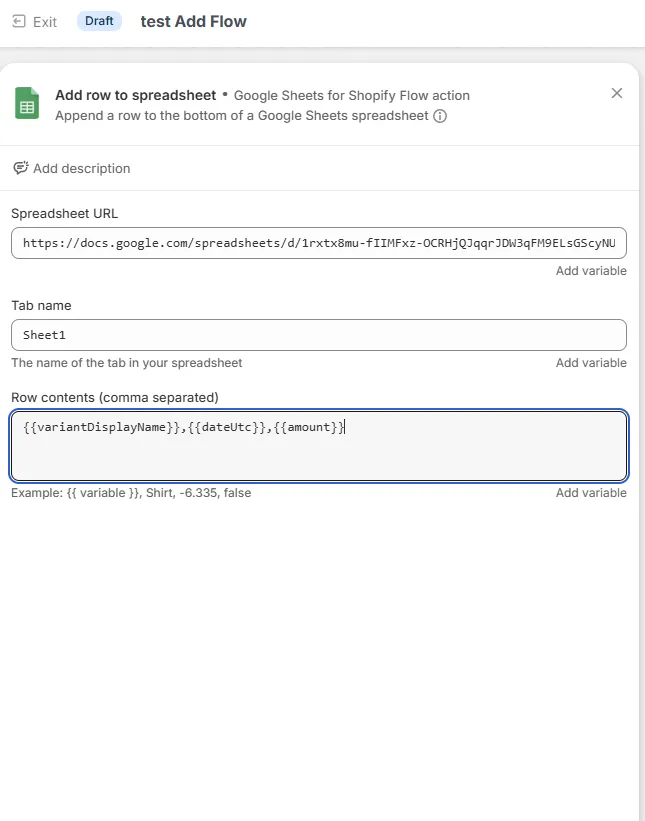
Configure the spreadsheet connection
- Paste the URL from a new Google spreadsheet in the Spreadsheet URL field
- Enter the Tab name
- Click Add variable to start adding row contents for the spreadsheet
- A good choice of variables includes:
variantDisplayName,dateUtc, andamount
-
Activate the workflow
Turn the workflow on and the spreadsheet will automatically populate every time an inventory adjustment is made.